
How to Measure Hairline Recession at Home With Photos
Learn how to measure hairline recession at home using photos. Step-by-step guide for consistent tracking, common mistakes, and when to see a specialist.
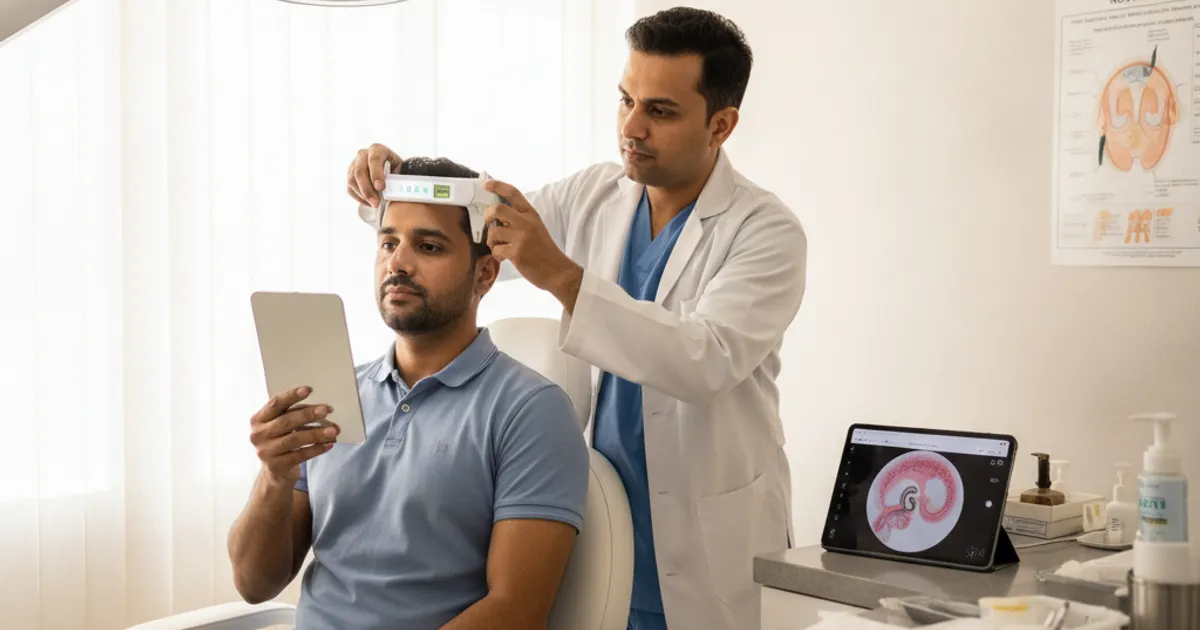
Why Measuring Hairline Recession at Home Matters
If you're noticing more forehead or a thinning temple area, you're probably wondering whether it's actually getting worse or if it's just your imagination. Measuring hairline recession at home with photos gives you objective evidence. It turns vague worries into a clear timeline you can act on. Whether you're considering a hair transplant down the road or just want to monitor changes, consistent photo tracking is the simplest tool you have.
- Creates a visual record that's more reliable than memory
- Helps you spot slow changes that happen over months or years
- Gives your doctor or surgeon concrete data during consultations
- Reduces anxiety by replacing guesswork with facts
- Helps you decide if and when to start treatment or plan a procedure
What You'll Need: Simple Tools for Accurate Tracking
You don't need fancy equipment. A smartphone camera, a few household items, and a consistent setup are enough. The goal is to remove variables so that any change you see in the photos is real, not caused by different lighting or angles.
- Smartphone or digital camera with a timer or remote shutter
- A tripod or a stable surface at a fixed height
- A tape measure or ruler for marking distances
- Good, even lighting — a well-lit room or indirect natural light
- A plain background (white or light-colored wall works best)
- A comb or brush to part your hair the same way each time
- A calendar or reminder app to schedule monthly photos
Step-by-Step: How to Take Consistent Photos of Your Hairline
Consistency is everything. If you change the lighting, distance, or angle, you'll see differences that aren't real. Stick to the same routine each time.
How to Measure Recession Using Your Photos
Once you have a set of consistent photos, you can measure recession in a few simple ways. You don't need to be exact to the millimeter — you just need a repeatable method that shows change over time.
Common Mistakes That Skew Your Measurements
- Changing the lighting between photos — shadows can make hair look thinner or thicker.
- Tilting your head differently — even a slight tilt changes the apparent hairline position.
- Using different cameras or lenses — focal length affects perspective.
- Not pulling hair back consistently — loose hair can cover receded areas.
- Taking photos at different times of day — natural light shifts significantly.
- Measuring from different reference points — always use the same landmark.
If you catch yourself making these mistakes, don't worry. Just reset your routine and start fresh. The goal is to build a reliable record going forward, not to have perfect data from day one.
How to Track Changes Over Time (Without Obsessing)
Checking your hairline every day will drive you crazy. Hair loss is usually a slow process, and daily changes are often just noise. A monthly or bi-monthly schedule gives you enough data points without turning it into a daily stress ritual.
- Take photos on the same day each month (e.g., the first Saturday).
- Review your photos every three to six months, not weekly.
- Keep a simple log with dates and any notes about treatments or lifestyle changes.
- Share your photo series with a dermatologist or hair restoration specialist when you're ready.
- If you notice sudden or rapid changes, don't wait — book a consultation.
When to See a Specialist: Planning Your Next Steps
Photo tracking is great for monitoring, but it's not a diagnosis. If you see consistent recession over several months, or if you're bothered by the changes, it's time to talk to a professional. A dermatologist or hair restoration surgeon can assess your hair loss pattern, rule out medical causes, and discuss options like medication, PRP, or hair transplant surgery.
- You notice a receding hairline that's clearly progressing over 6–12 months
- You see thinning at the crown or diffuse shedding
- You have itching, scaling, or pain on your scalp
- You're considering a hair transplant and want to plan ahead
- You want to know if you're a candidate for medical therapy
When you do consult a specialist, bring your photo series. It gives them a clear timeline and helps them give you more precise advice. If you're exploring hair transplant clinics, directories like Clinic Reccy can help you find and compare providers in your area.
FAQ: Measuring Hairline Recession at Home
How often should I take photos to track hairline recession?
Once a month is usually enough. Taking photos more often can create anxiety without adding useful data, since hair loss typically progresses slowly.
Can I measure hairline recession without a ruler?
Yes. You can use visual comparisons, grid overlays in photo apps, or simply compare the shape and position of your hairline across photos taken from the same angle and distance.
What if my hairline looks different in every photo?
That usually means your photo setup isn't consistent. Focus on keeping the same lighting, distance, angle, and hair styling for every session. It takes a few tries to get a repeatable routine.
Is home measurement a substitute for a professional diagnosis?
No. Home photos are a tracking tool, not a medical assessment. If you're concerned about hair loss, see a dermatologist or hair restoration specialist for a proper evaluation.
Choosing the Right Reference Points for Repeatable Measurements
The single biggest factor in whether your photo series is useful is whether you measure from the same landmarks every time. Your hairline is not a fixed object — it moves with your head position, your hair length, and even your posture — so you need anchor points that don't change. Pick these once, write them down, and use them for every future photo.
- Use fixed facial landmarks rather than your hair itself: the center point between your eyebrows (glabella), the outer corner of each eye, and the top of each ear are stable reference points that don't shift as hair thins.
- Measure the distance from the glabella straight up to the lowest point of your frontal hairline. This gives you a simple, repeatable number for frontal recession.
- For temple recession, measure from the outer corner of the eye diagonally up toward the temple hairline, or note where the hairline sits relative to a vertical line drawn up from the outer eye corner.
- Record the width of any bare or thinning patch at the temples using the same two landmarks each time.
- Note your hair length at each photo session, since longer hair can visually cover a receded area and shorter hair exposes it.
Keep a written record of these landmarks alongside your photos. If you ever change your method, start a new series rather than mixing old and new measurements, because comparing across different reference points will produce misleading results.
Reading Your Photos Realistically: What Changes Actually Mean
A photo series is only as good as your interpretation of it. Many people see a difference between two photos and assume their hair loss has accelerated, when the change may be within normal variation. Hairline position naturally fluctuates a little with hydration, scalp oiliness, hair cycle phase, and how your hair happens to sit that day. The signal you're looking for is a consistent directional trend across several months, not a single comparison.
- Compare photos taken at least three months apart. Month-to-month differences are usually too small to interpret reliably.
- Look at the trend across the whole series rather than any single pair of images. Three or more photos showing the same direction of change is more meaningful than one dramatic-looking comparison.
- Distinguish between hairline position and hair density. A hairline can stay in place while the hair behind it thins, and photos taken under strong light can exaggerate density loss.
- Check whether changes are symmetric. Gradual, symmetric recession is common in pattern hair loss; sudden or patchy asymmetry is worth raising with a doctor.
- Be cautious about interpreting changes you can only see when zooming in heavily on a screen. View photos at normal size first, then zoom to confirm.
What to Expect at a Consultation When You Bring Photo Evidence
Bringing a photo series changes the conversation with a dermatologist or hair restoration surgeon. Instead of describing a vague impression, you're showing a timeline, which helps the clinician assess the rate and pattern of change and decide which assessments are worth doing. It doesn't replace a clinical examination, but it makes that examination more focused.
A typical consultation will involve a scalp examination, a discussion of your medical and family history, and possibly a trichoscopy check (magnified examination of the scalp and hair follicles) or a hair-pull test. Your photos help the clinician judge whether what they see today is stable or progressing, which affects whether they recommend monitoring, medical therapy, or a procedural option.
- Expect questions about when you first noticed changes, whether loss is stable or ongoing, and any treatments you've already tried.
- Bring photos in a consistent format — same order, dated — so the clinician can flip through them quickly rather than hunting through your camera roll.
- Be ready to discuss family history of hair loss, since pattern and likely progression are often assessed partly on that basis.
- Ask what the clinician would want to see in future photos, so your ongoing tracking matches what they find useful.
- If a hair transplant is being considered, ask how your donor area and current hairline stability factor into candidacy, since operating on an actively progressing hairline can lead to unsatisfactory long-term results.
It's reasonable to ask for a clear explanation of what was observed and why a particular option is being suggested. A good consultation should leave you understanding your pattern of loss and the reasoning behind the next step, not just a recommendation.
How long should I keep taking photos before I can draw any conclusions?
Aim for at least three to six months of consistent monthly photos before interpreting a trend. Hair growth cycles and normal variation mean shorter intervals are unreliable for spotting real change.
Can I use my phone's front camera for these photos?
You can, but front cameras often distort perspective and are harder to hold at a consistent distance. A rear camera on a tripod or stable surface gives more repeatable framing, which matters more than camera quality.
What if I miss a month or change my setup partway through?
Don't try to splice mismatched photos into one series. Note the change in your log and start a fresh baseline from the new setup, keeping the old photos for reference.
Do I need special measuring apps?
No. Free grid or drawing apps can help you compare positions visually, but a ruler, fixed landmarks, and consistent photos are sufficient. The method matters more than the tool.
Should I shave or buzz my hair to make tracking easier?
Not necessarily. Shorter hair does make the hairline easier to see, but consistency is what counts. If you change your hair length, note it and treat that as a new baseline rather than comparing directly to longer-hair photos.
More Guides
- How Long After Finasteride Before a Hair Transplant?
Planning a hair transplant while on finasteride? Learn the typical waiting period, why timing matters, and how to coordinate with your surgeon for best results.
- Early Symptoms of Hair Loss: What to Watch For First
Learn the early symptoms of hair loss, how to track them, and when to see a specialist. Plan ahead with treatment options and costs.
- Alopecia Treatment: A Comprehensive Guide
A practical guide to alopecia treatment: types, diagnosis, medications, surgery, recovery timeline, and aftercare. Plan your hair restoration with confidence.
- Hair Loss Causes: What You Can and Can't Control
Understand hair loss causes, what's controllable, and how to plan a transplant. Practical guide to factors, aftercare, and when to see a specialist.